Create a new Amazon app instance
The following screenshots will help you creating a new Amazon application instance. An application instance is the container for exactly one Java application server. Each instance is configured using so called "user data". This configuration will then be read by the java server.
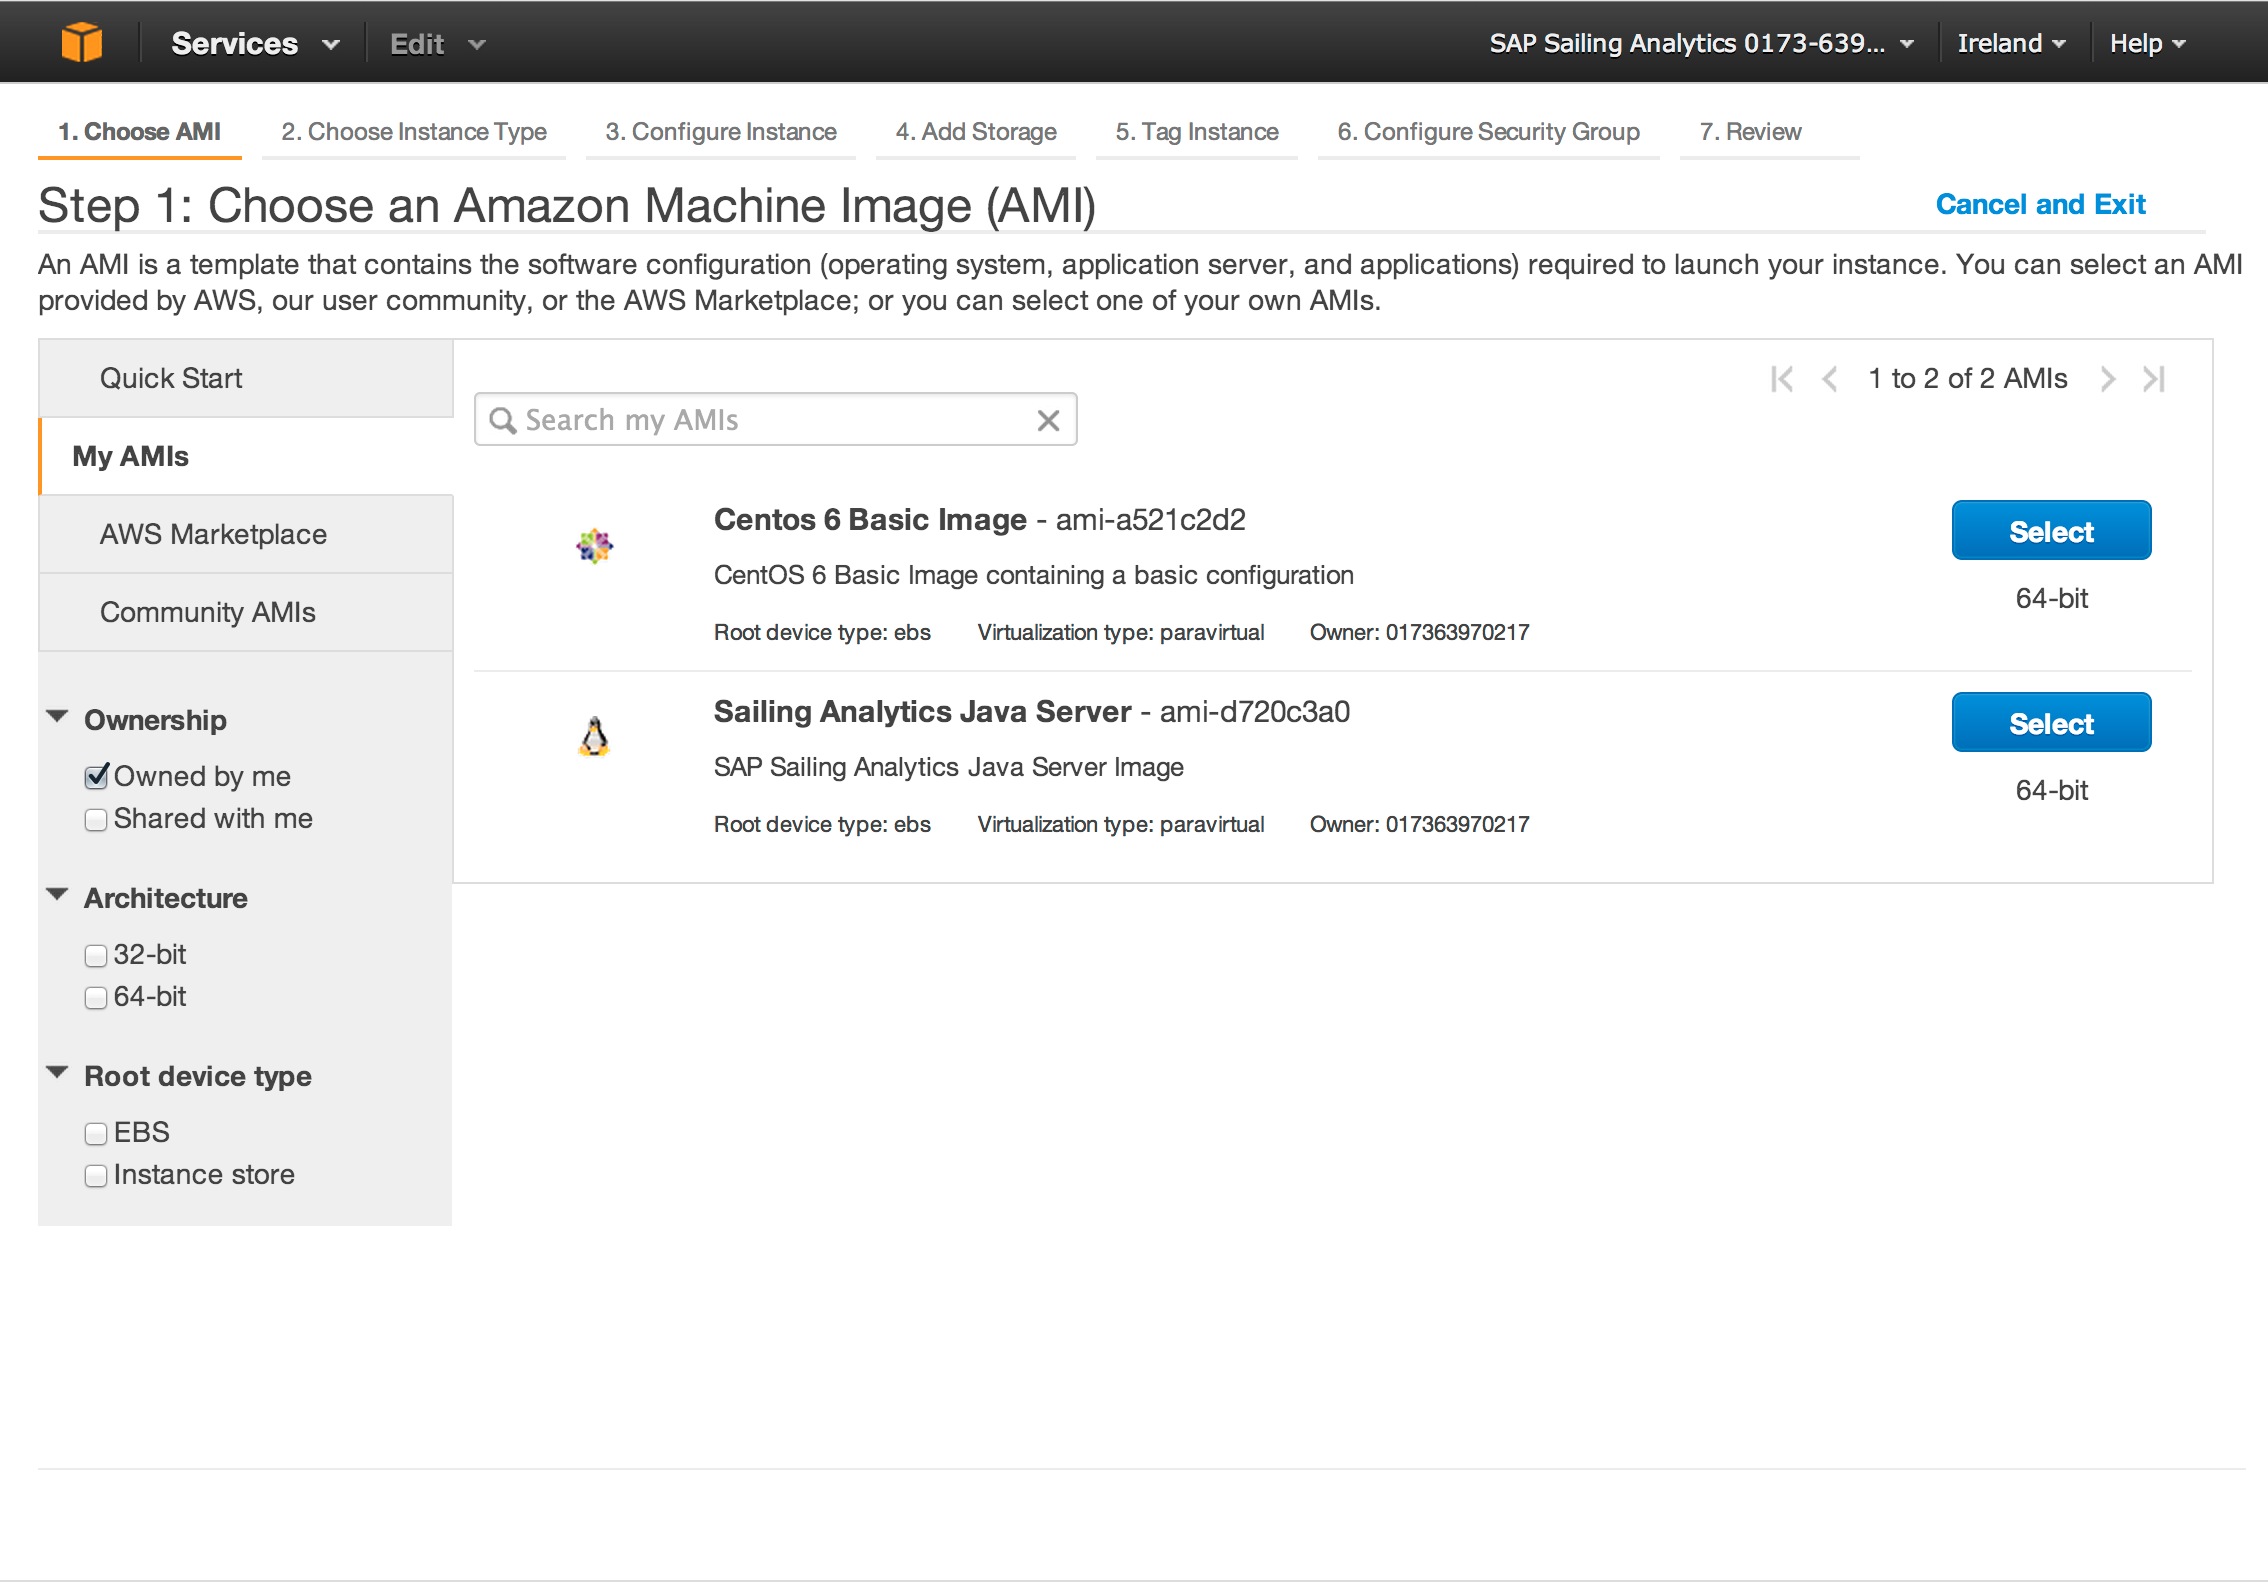
AMI Selection
In the "Classic Wizard" select "My AMIs" and then select "Sailing Analytics Java Server"
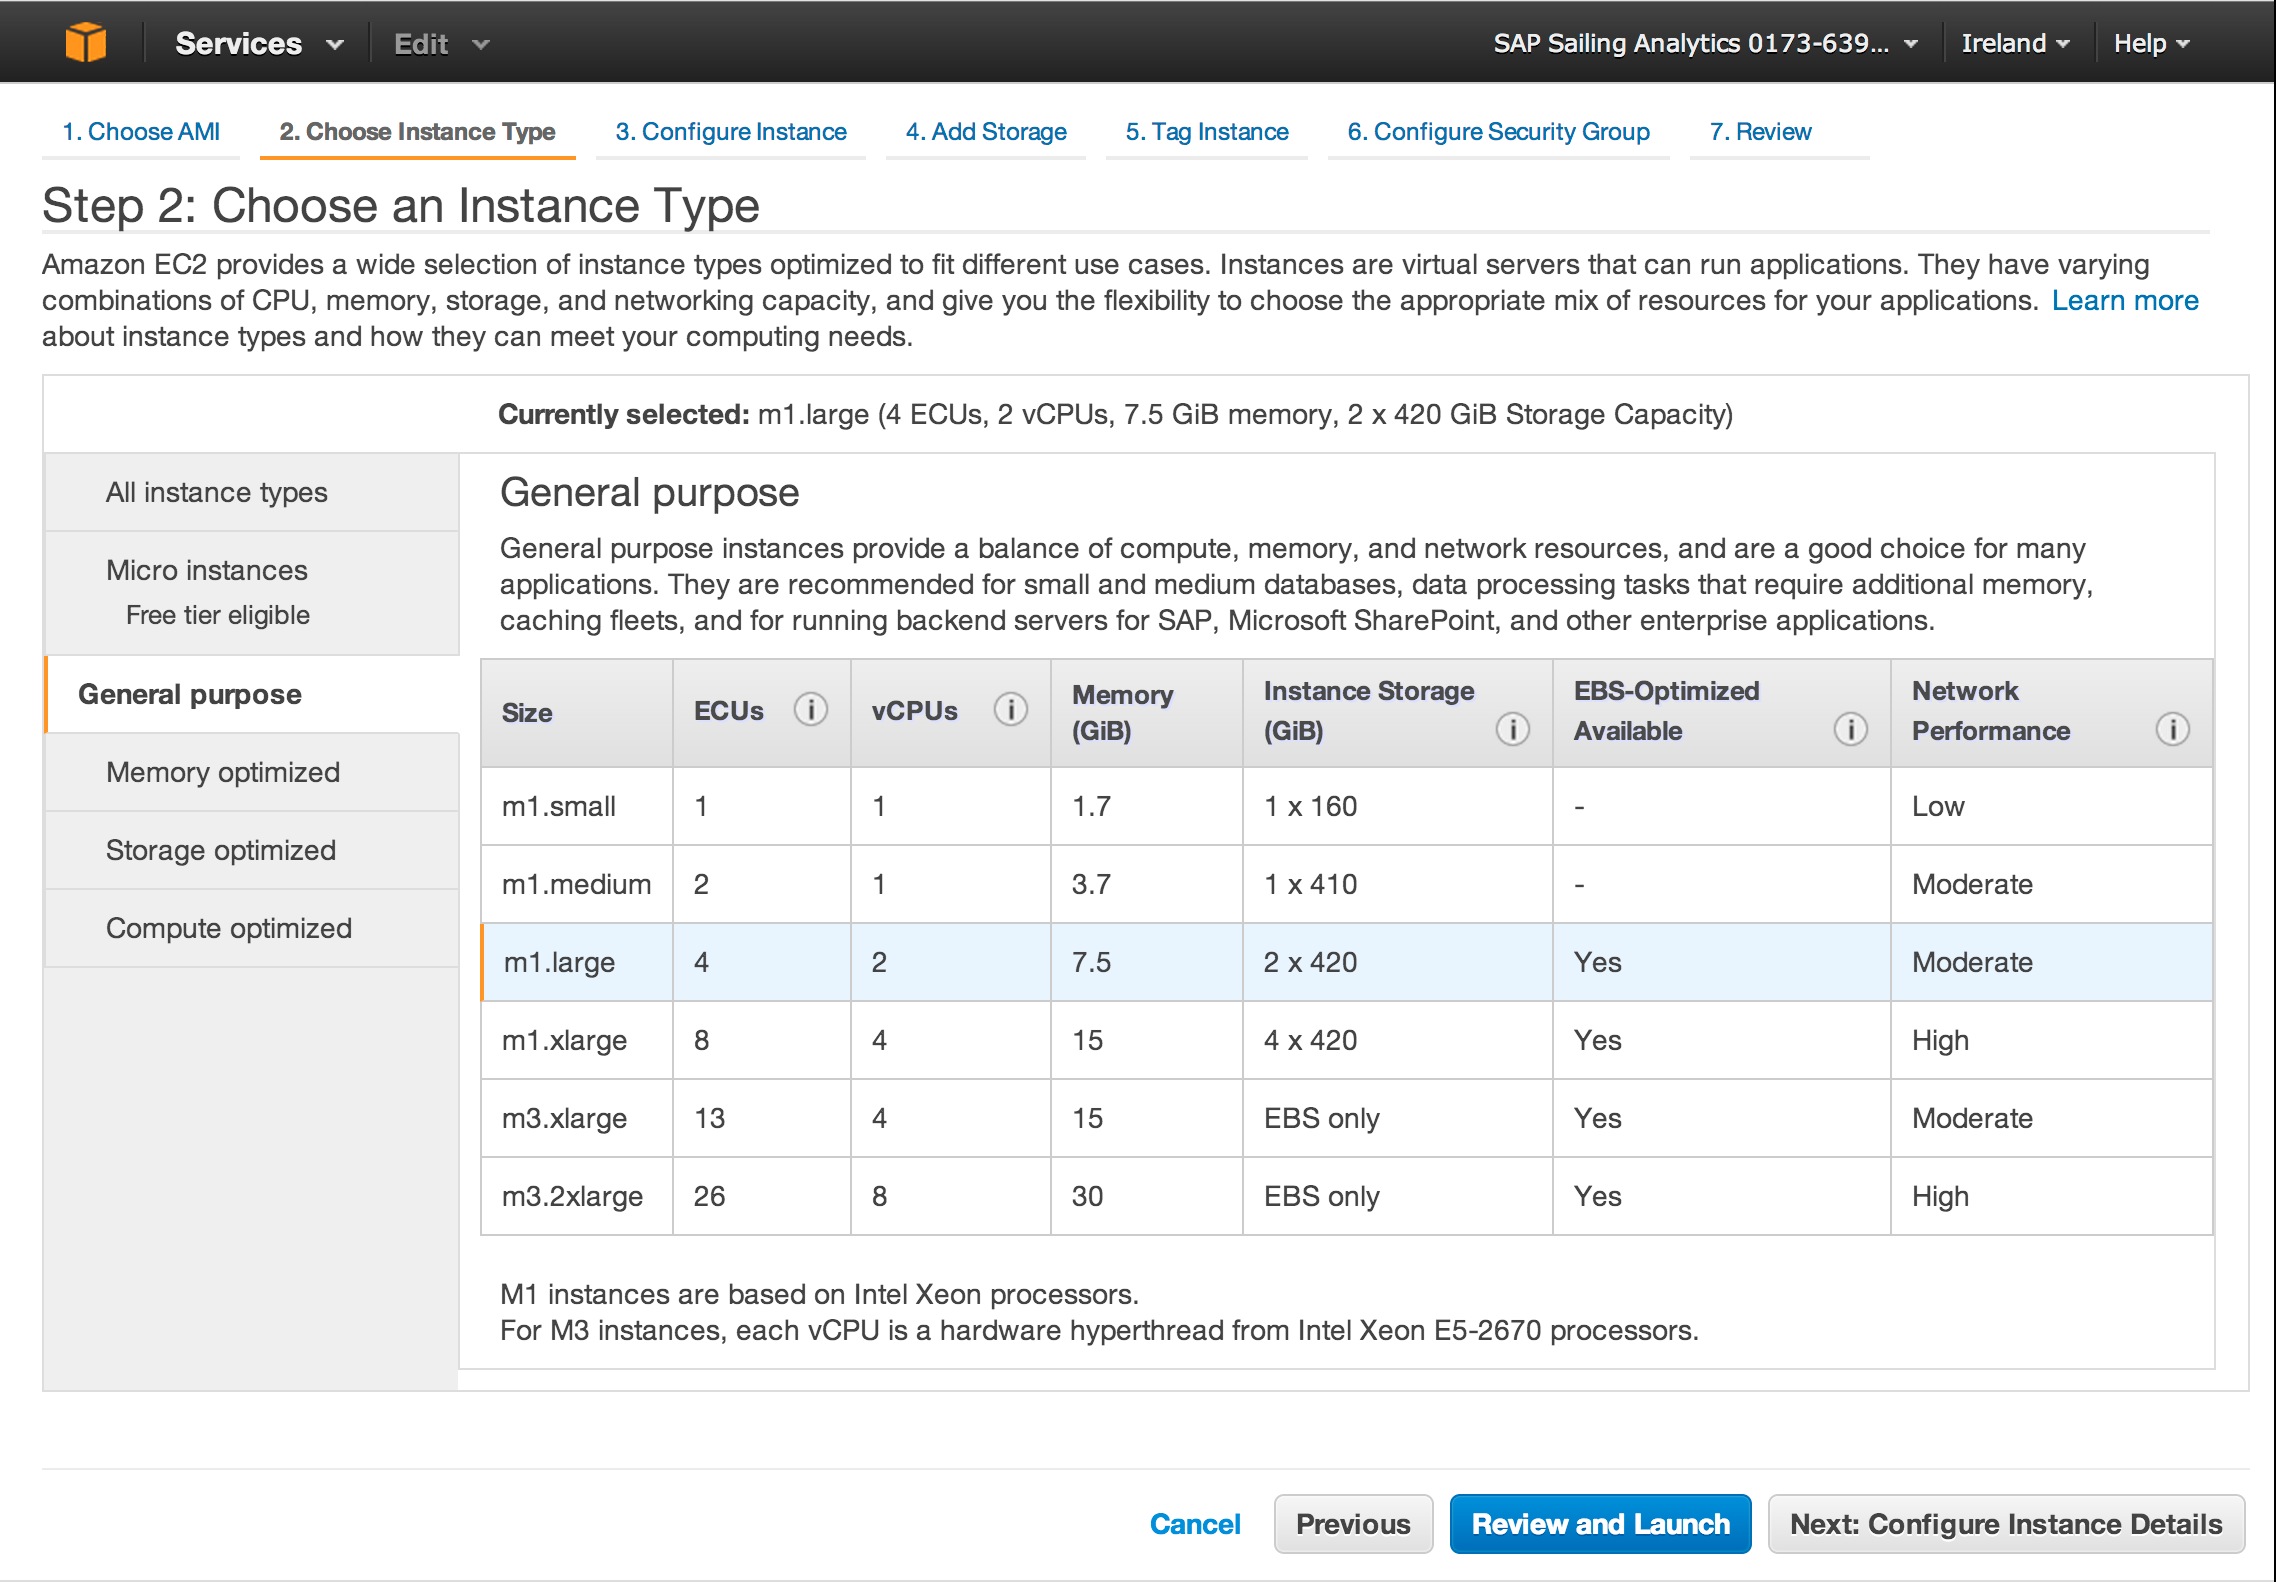
Then select an instance type that matches what you want - be aware of the fact that t1.micro is not suitable for build process.
Select a subnet that matches the one of the database server (in most cases this will be eu-west-1c). Leave other options untouched but scroll down to get to the "Advanced Options". There fill the user data field.
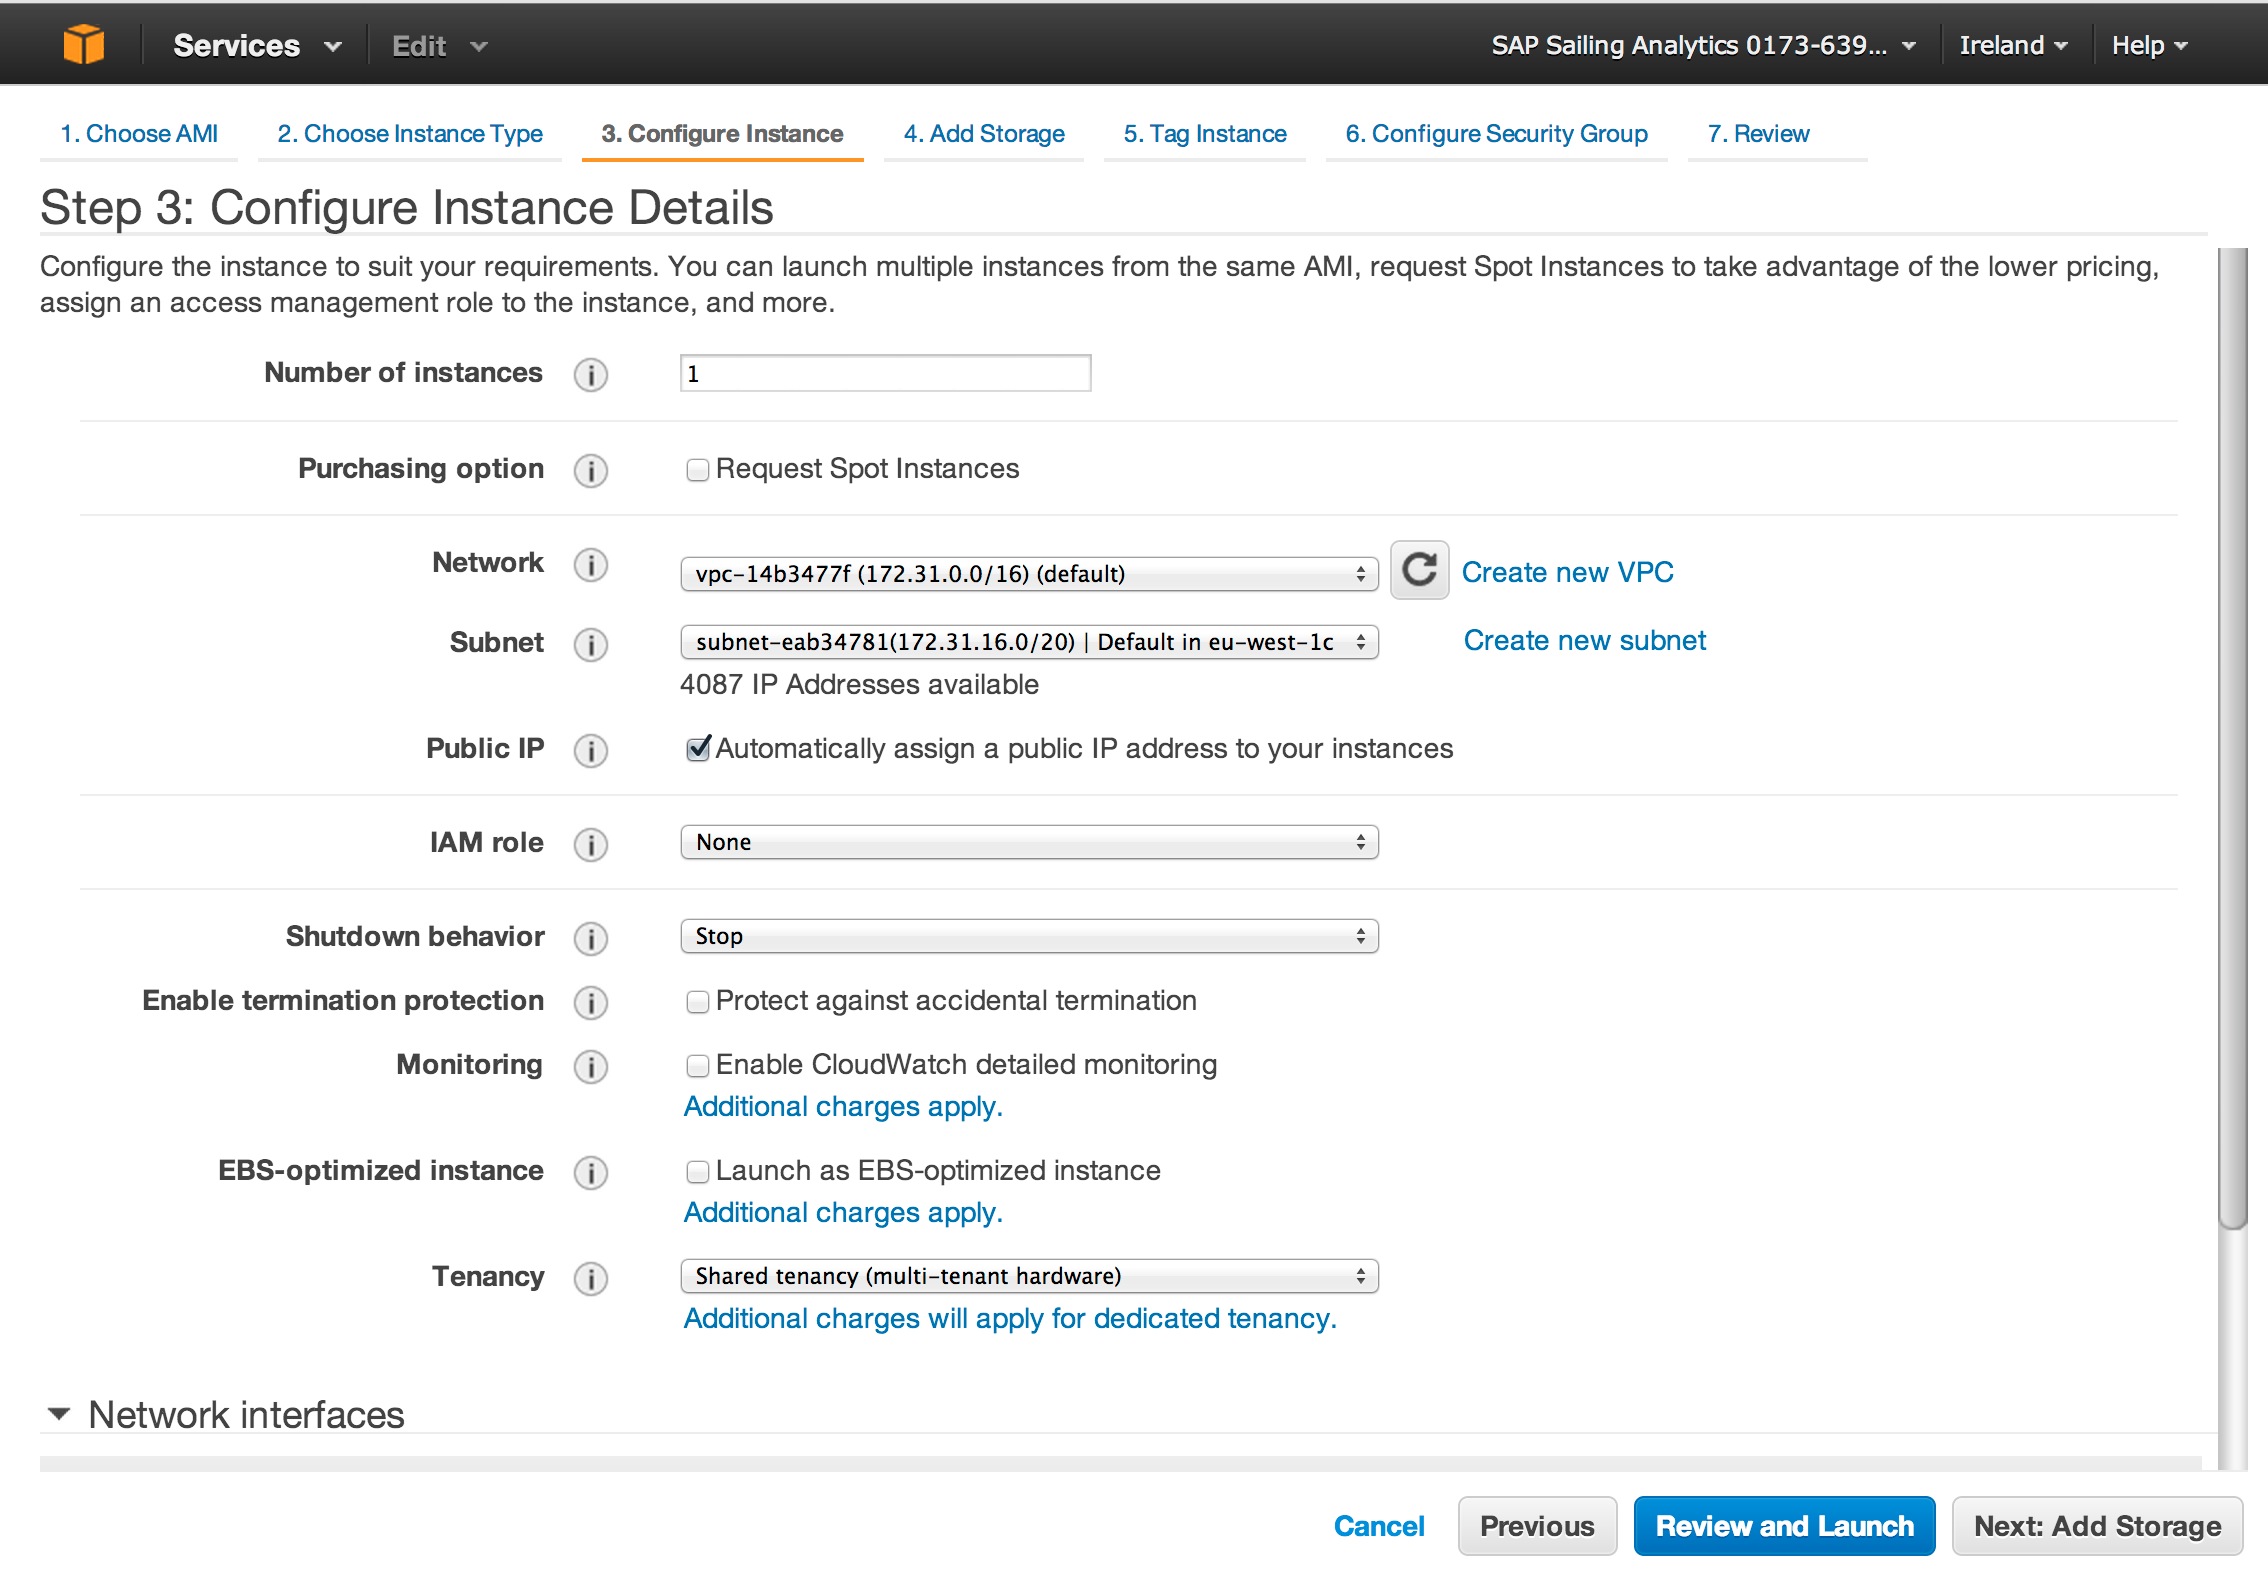
Leave Kernel and RAM disk to Default. Then put the configuration for this server into the text area labeled "User Data" (Advanced Data). Here one example that loads a specific release package.
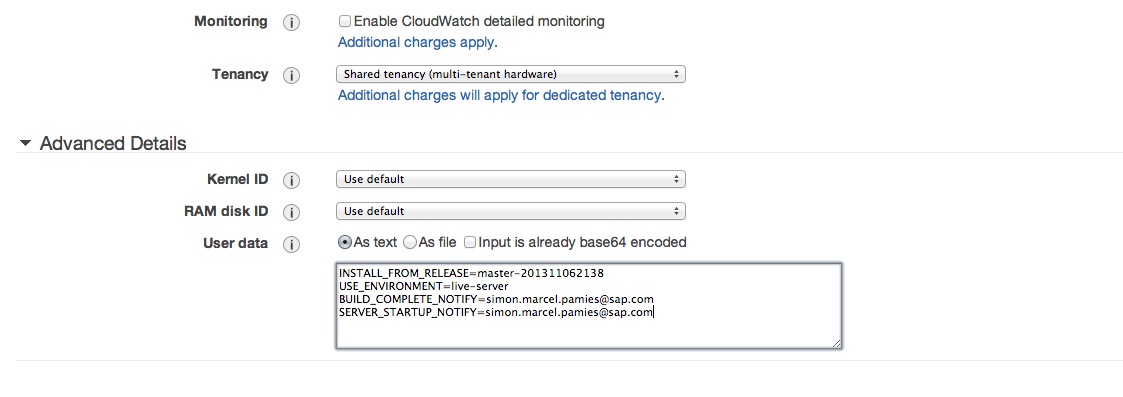
INSTALL_FROM_RELEASE=name-of-release
USE_ENVIRONMENT=live-server
MONGODB_PORT=10202
MONGODB_NAME=myspecificevent
REPLICATION_CHANNEL=myspecificevent
SERVER_NAME=MYSPECIFICEVENT
BUILD_COMPLETE_NOTIFY=youe.name@sap.com
SERVER_STARTUP_NOTIFY=your.name@sap.com
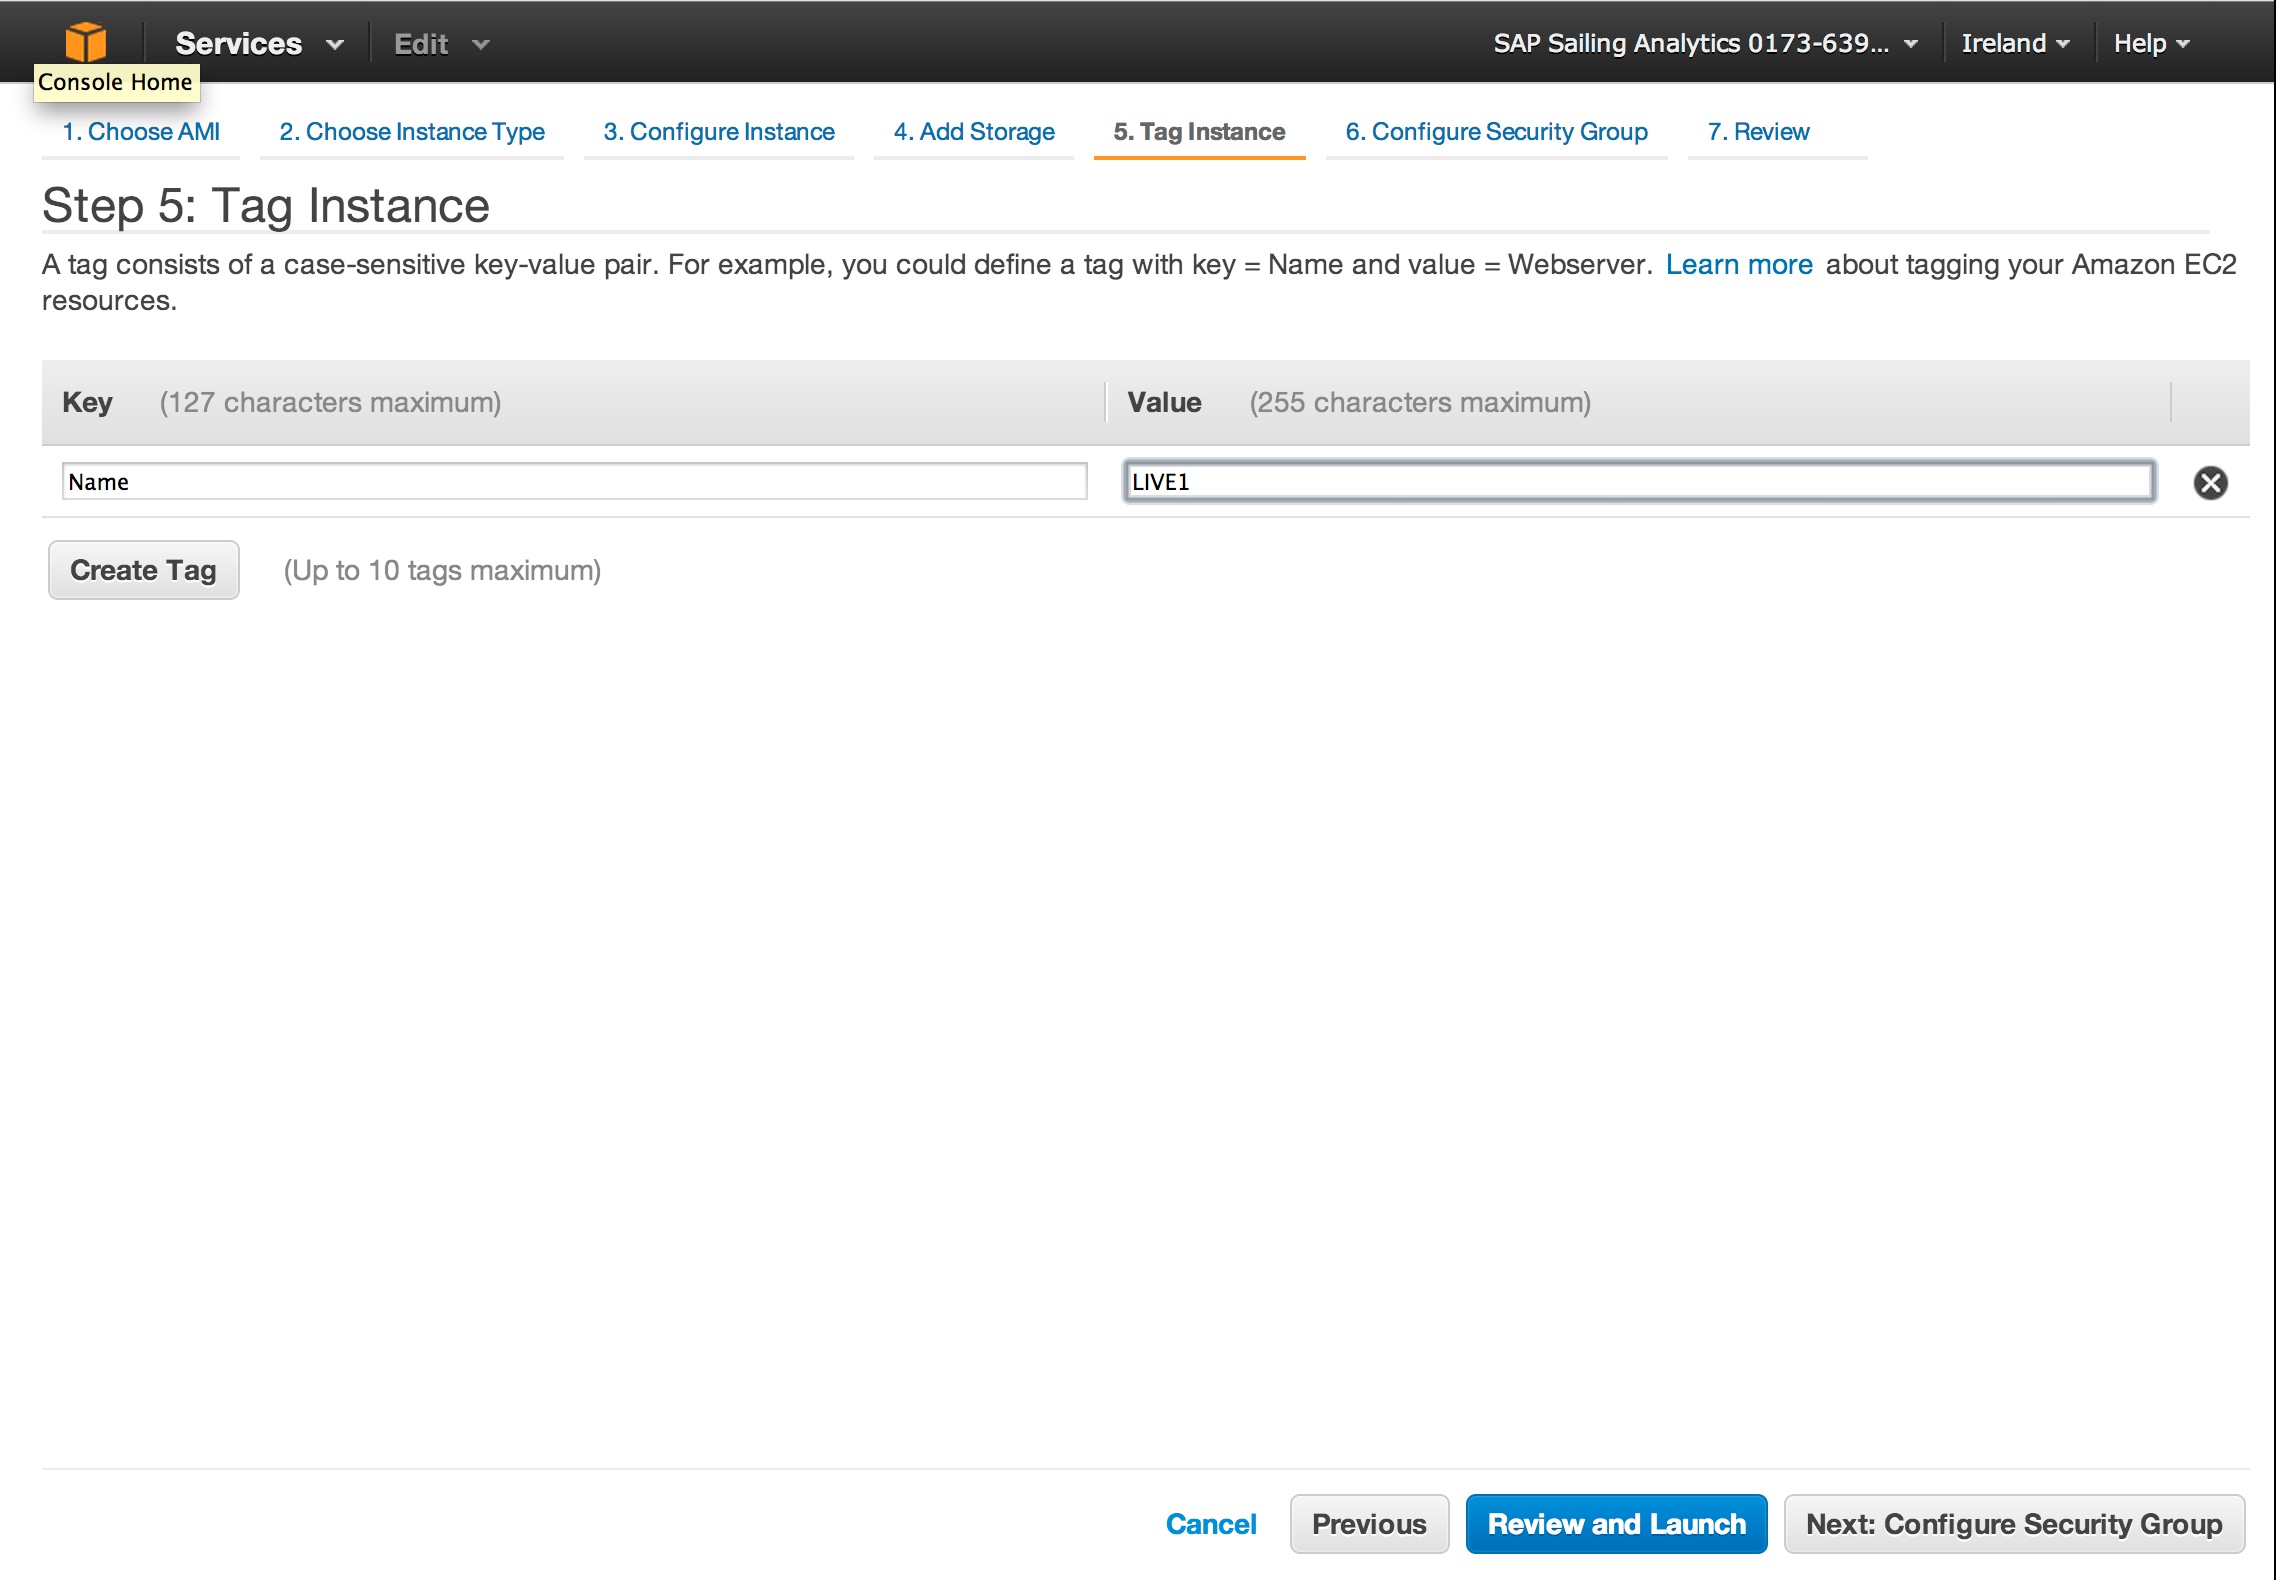
Provide your instance with an useful name. Usually, an SAP Sailing Analytics server instance should have a name that starts with "SL".
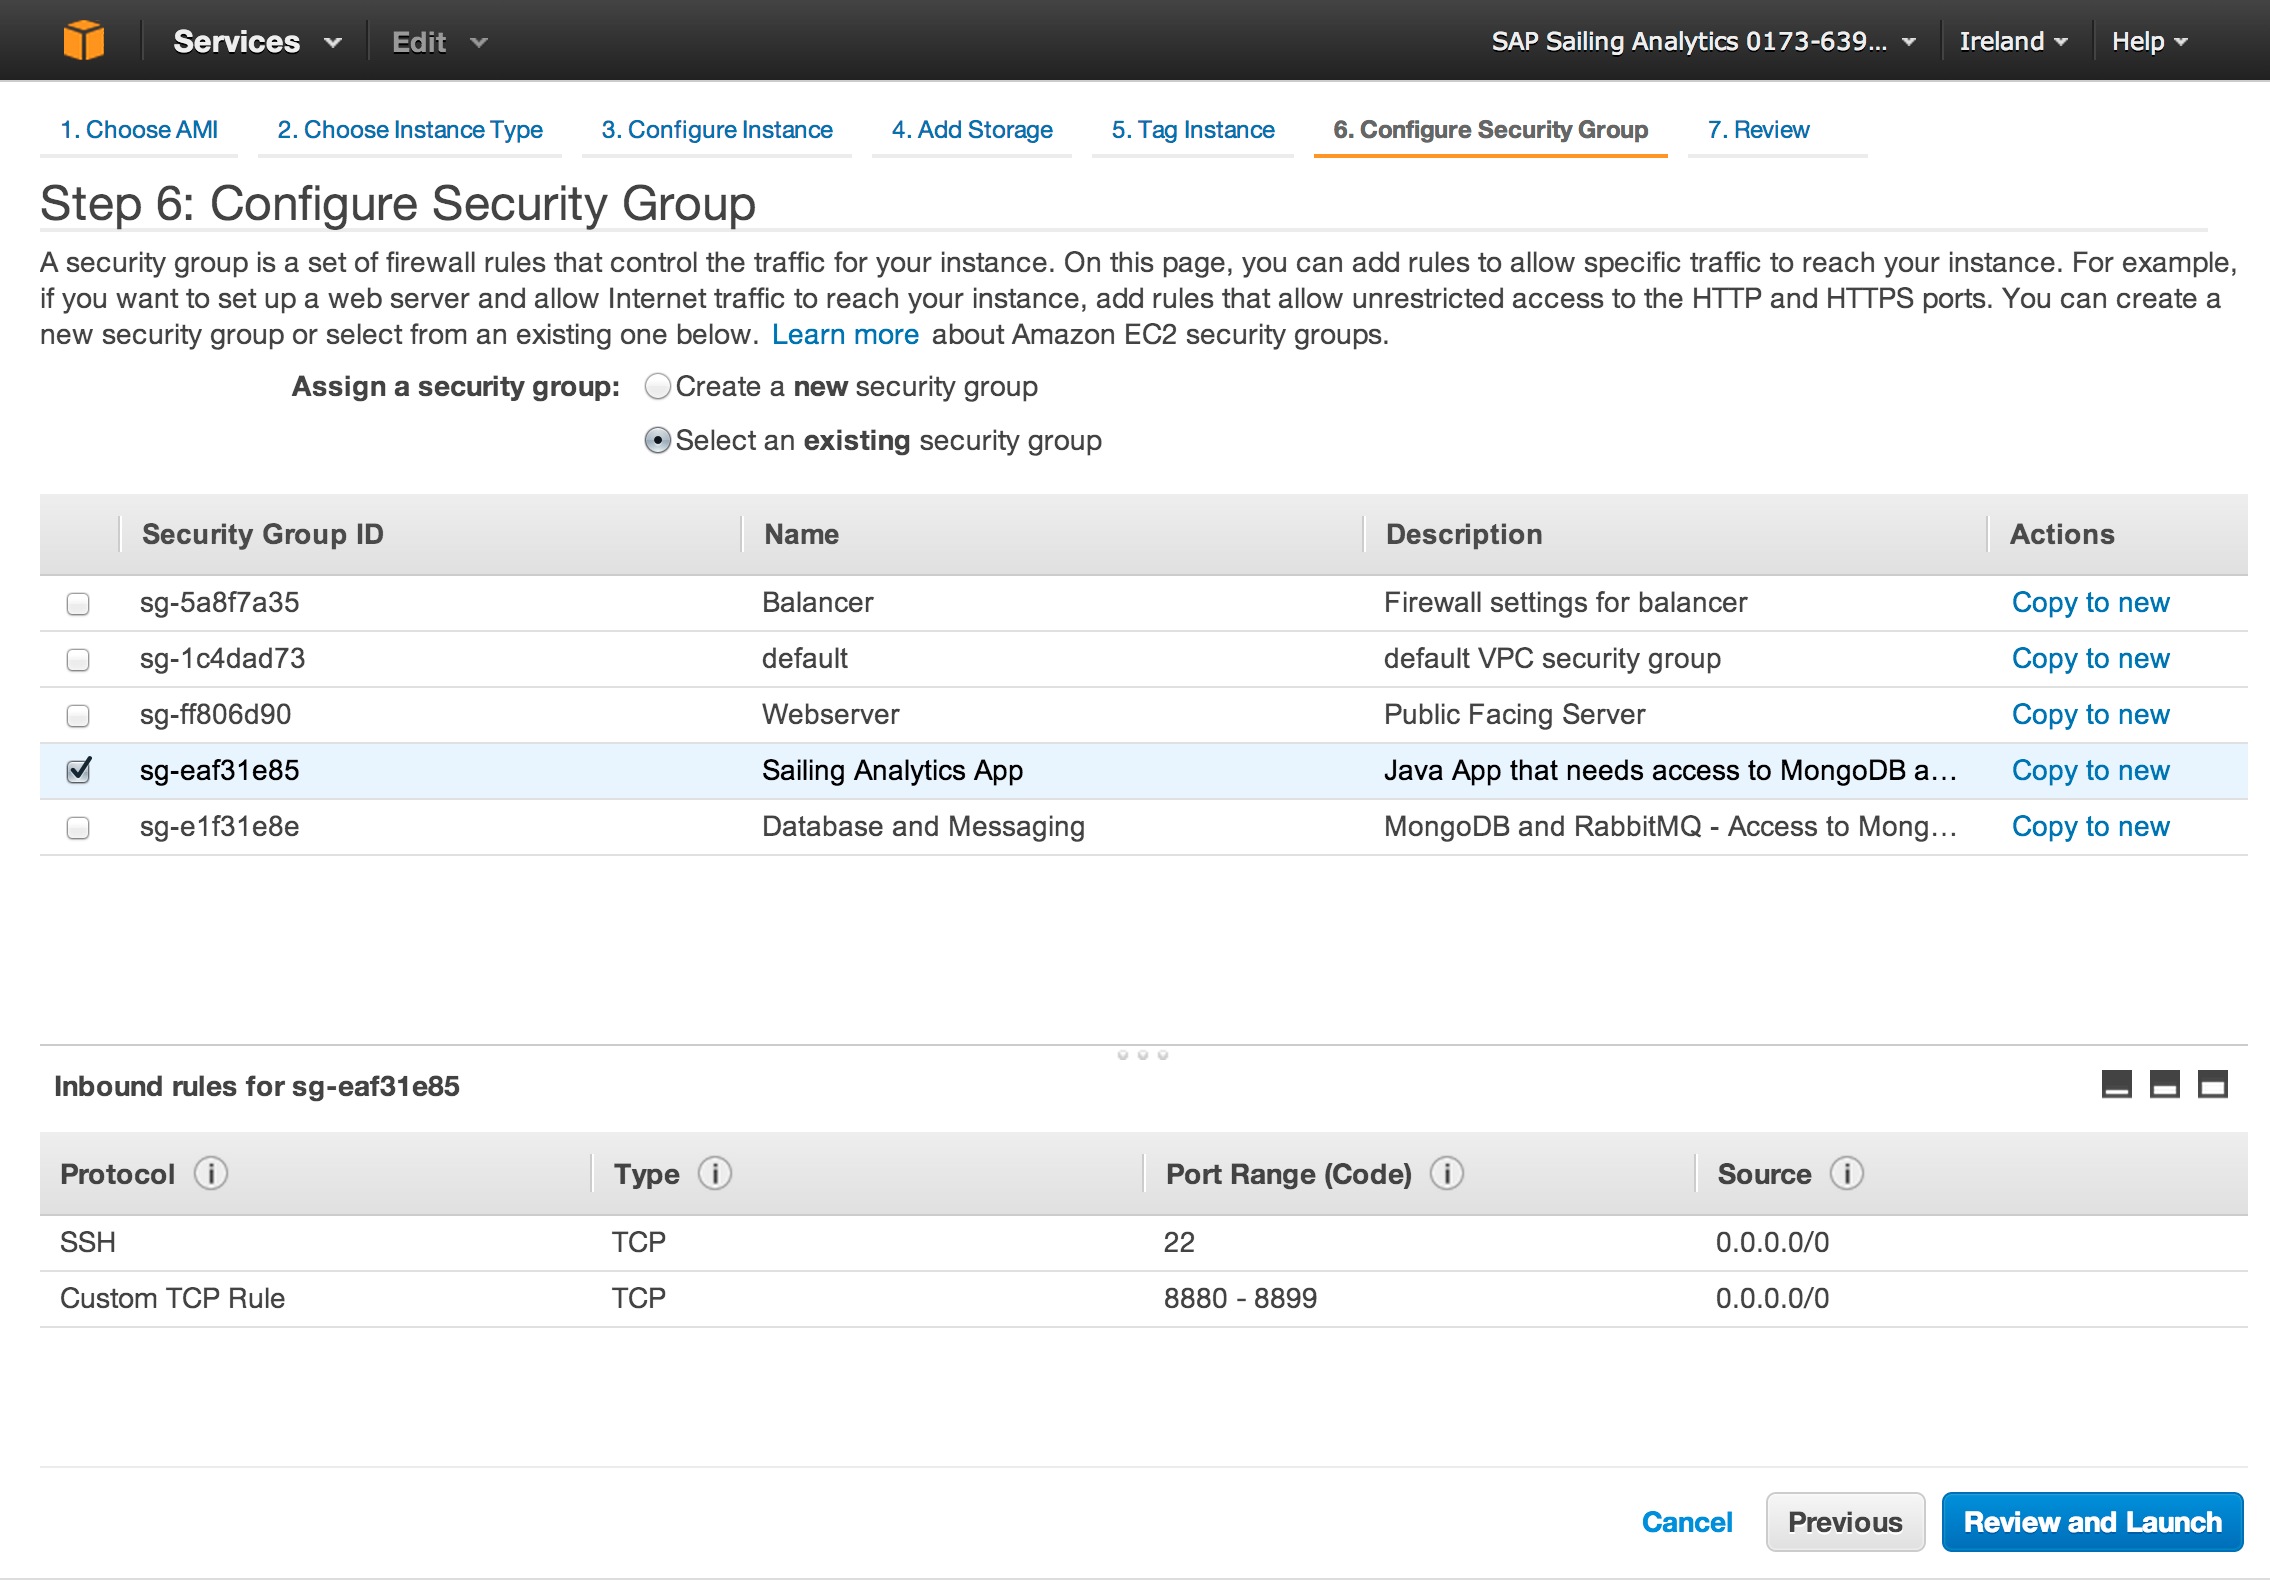
Make absolutely sure to select the right Security Group. If you do not select the group "Sailing Analytics App" your server won't be able to access any database.
Configure the key. Make sure to always use the "Administrator" key.
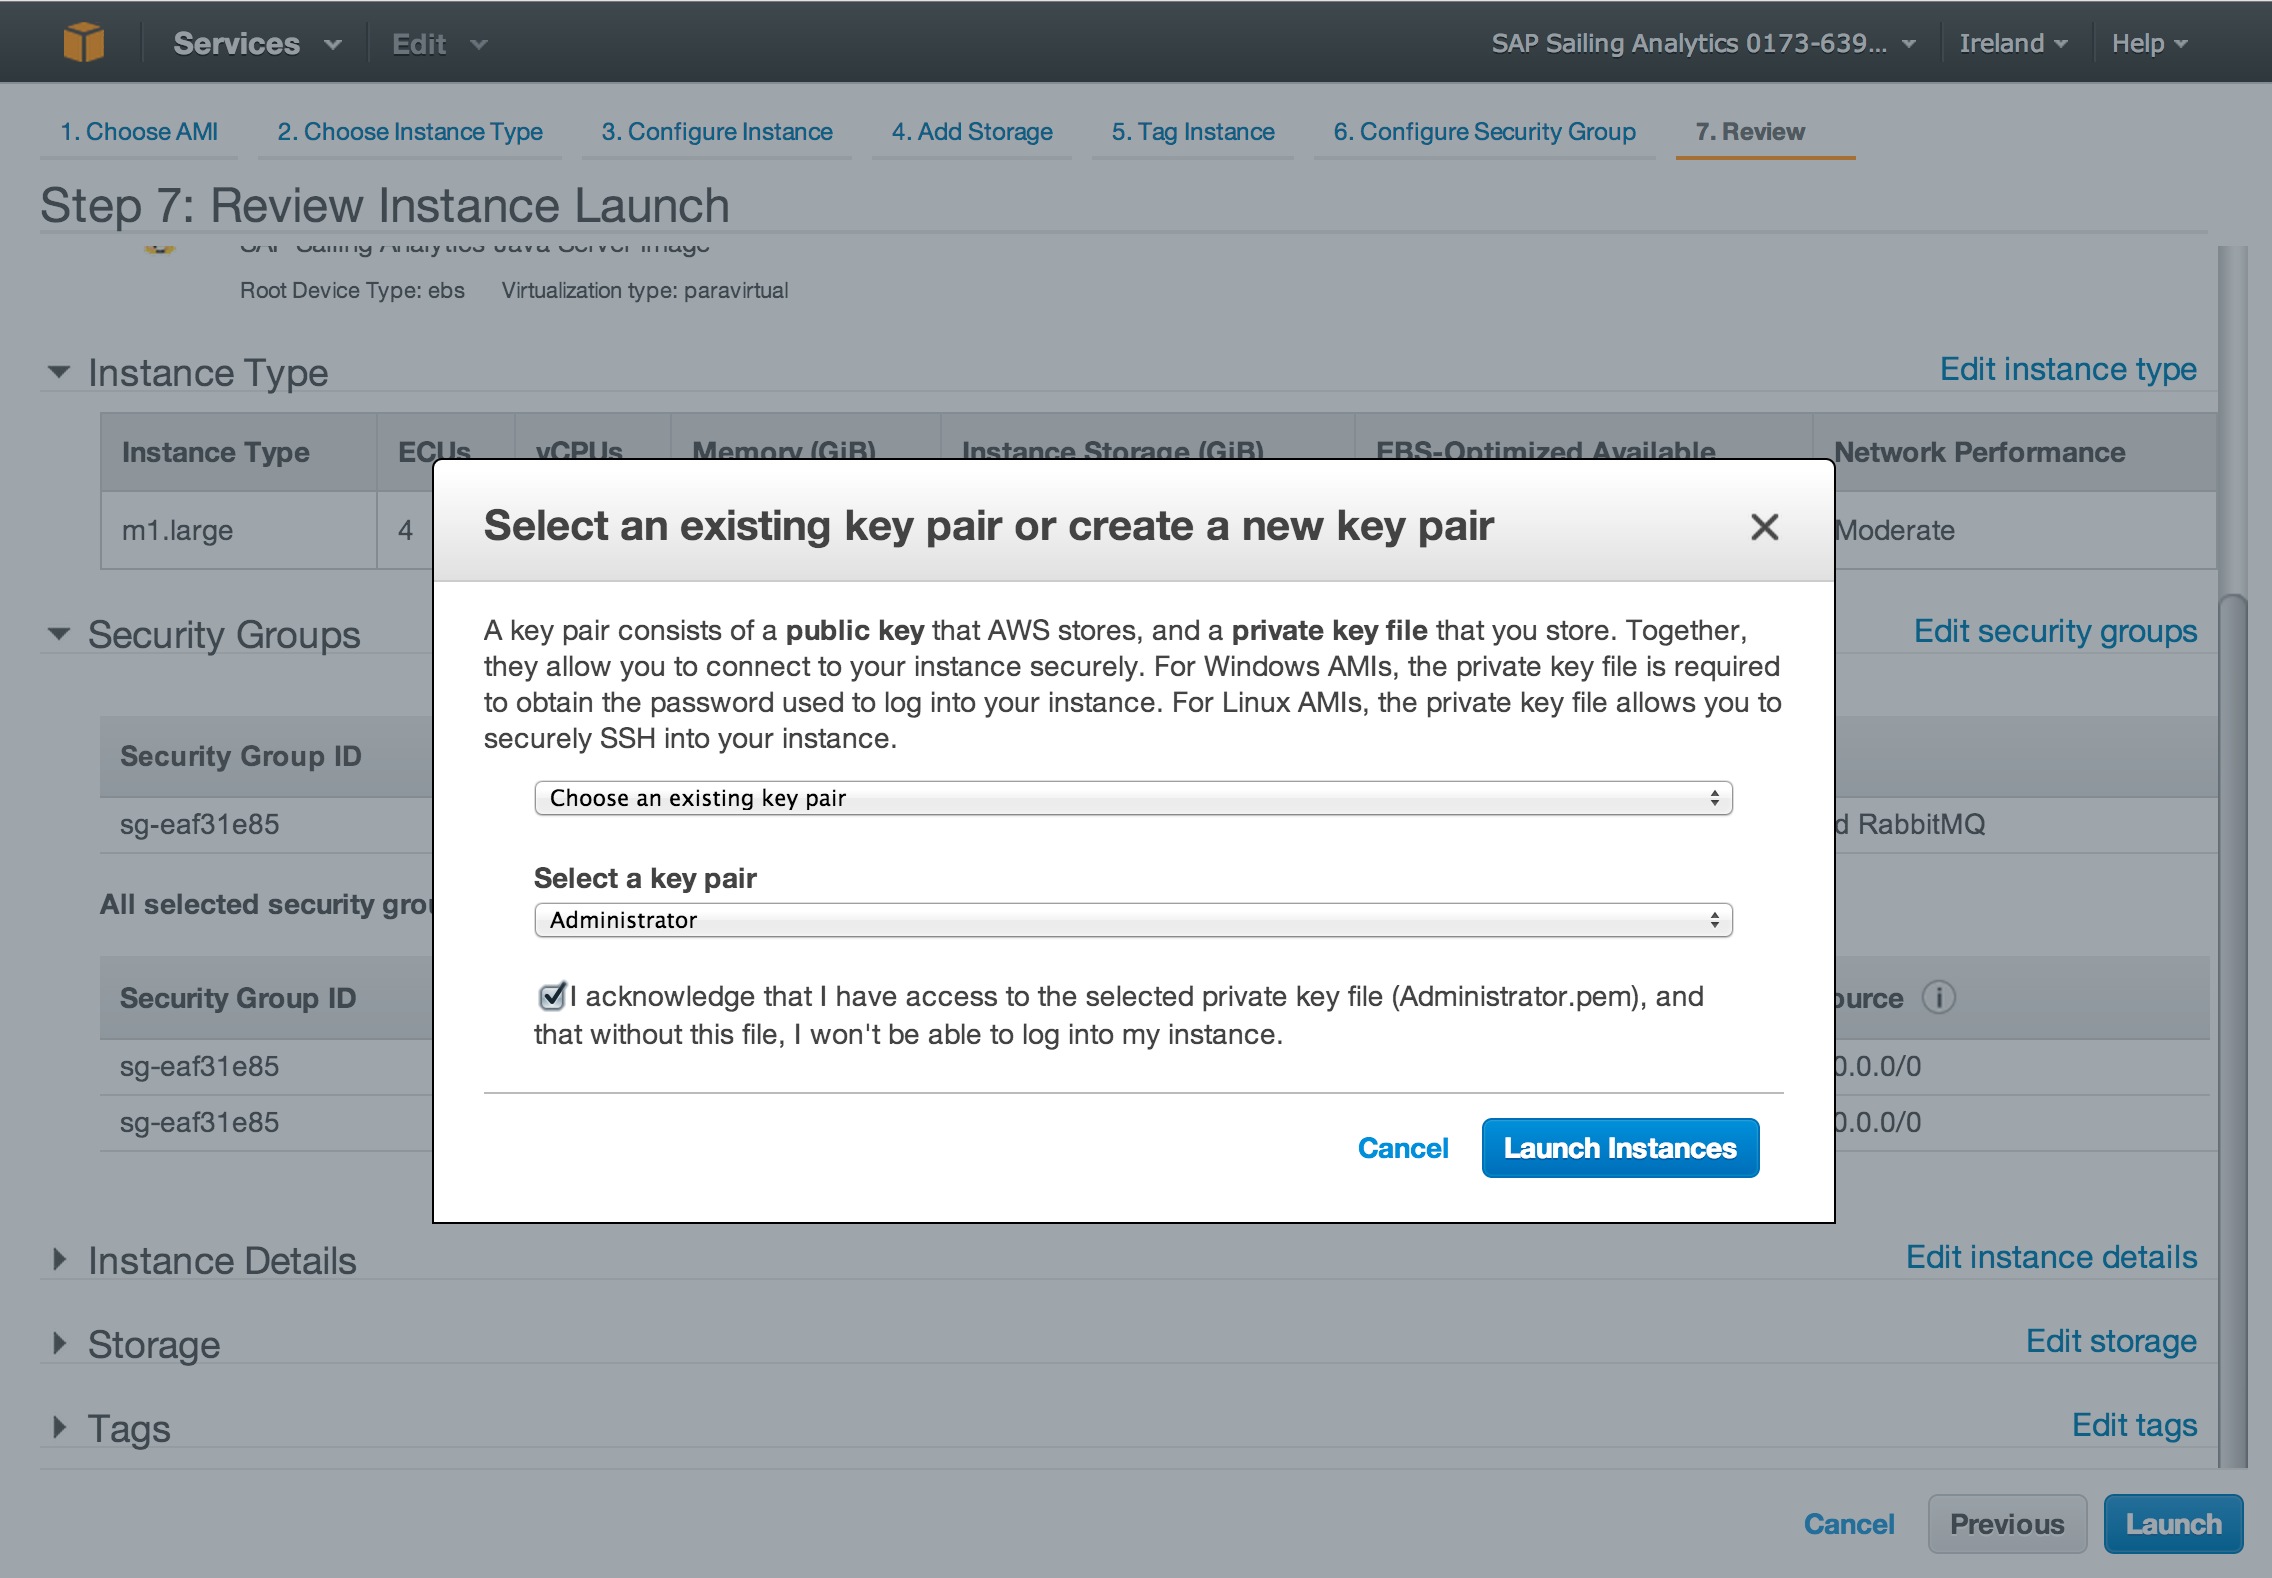
Your instance is now launching. You can create alarms if you want to monitor the state of the application. Be aware that monitoring is costly.
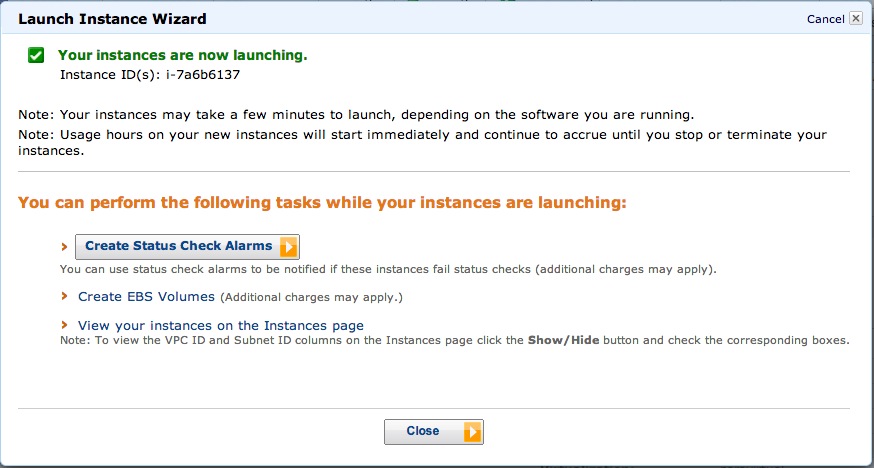
Should the reachability status check fail, your instance will not be reachable, and the best option is to terminate and re-create that instance. Sorry.
Your application is now ready. Check that everything is green.
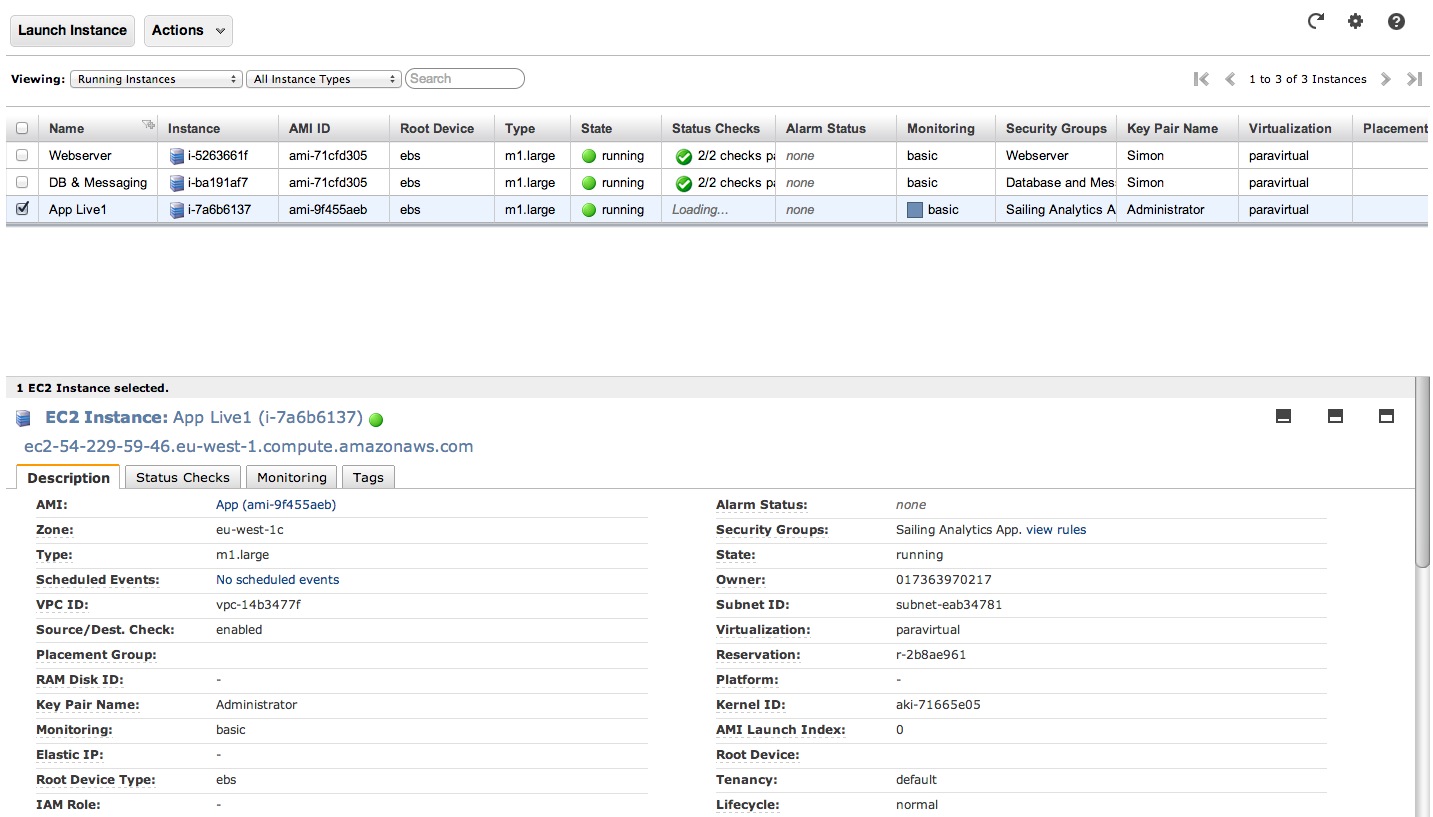
You can access the application server by using the DNS and the port you've configured.